Bizcocho japonés Kasutera
Hello everybody, I hope you're having an incredible day today. Today, we're going to make a distinctive dish, Bizcocho japonés Kasutera. It is one of my favorites food recipes. This time, I will make it a bit unique. This will be really delicious.
Bizcocho japonés Kasutera is one of the most well liked of current trending foods on earth. It's simple, it's quick, it tastes yummy. It is enjoyed by millions daily. Bizcocho japonés Kasutera is something that I have loved my whole life. They're nice and they look fantastic.
Many things affect the quality of taste from Bizcocho japonés Kasutera, starting from the type of ingredients, then the selection of fresh ingredients, the ability to cut dishes to how to make and serve them. Don't worry if you want to prepare Bizcocho japonés Kasutera delicious at home, because if you already know the trick then this dish can be used as an extraordinary special treat.
As for the number of servings that can be served to make Bizcocho japonés Kasutera is 12 - 14 porciones. So make sure this portion is enough to serve for yourself and your beloved family.
To get started with this particular recipe, we must first prepare a few ingredients. You can have Bizcocho japonés Kasutera using 6 ingredients and 9 steps. Here is how you cook it.
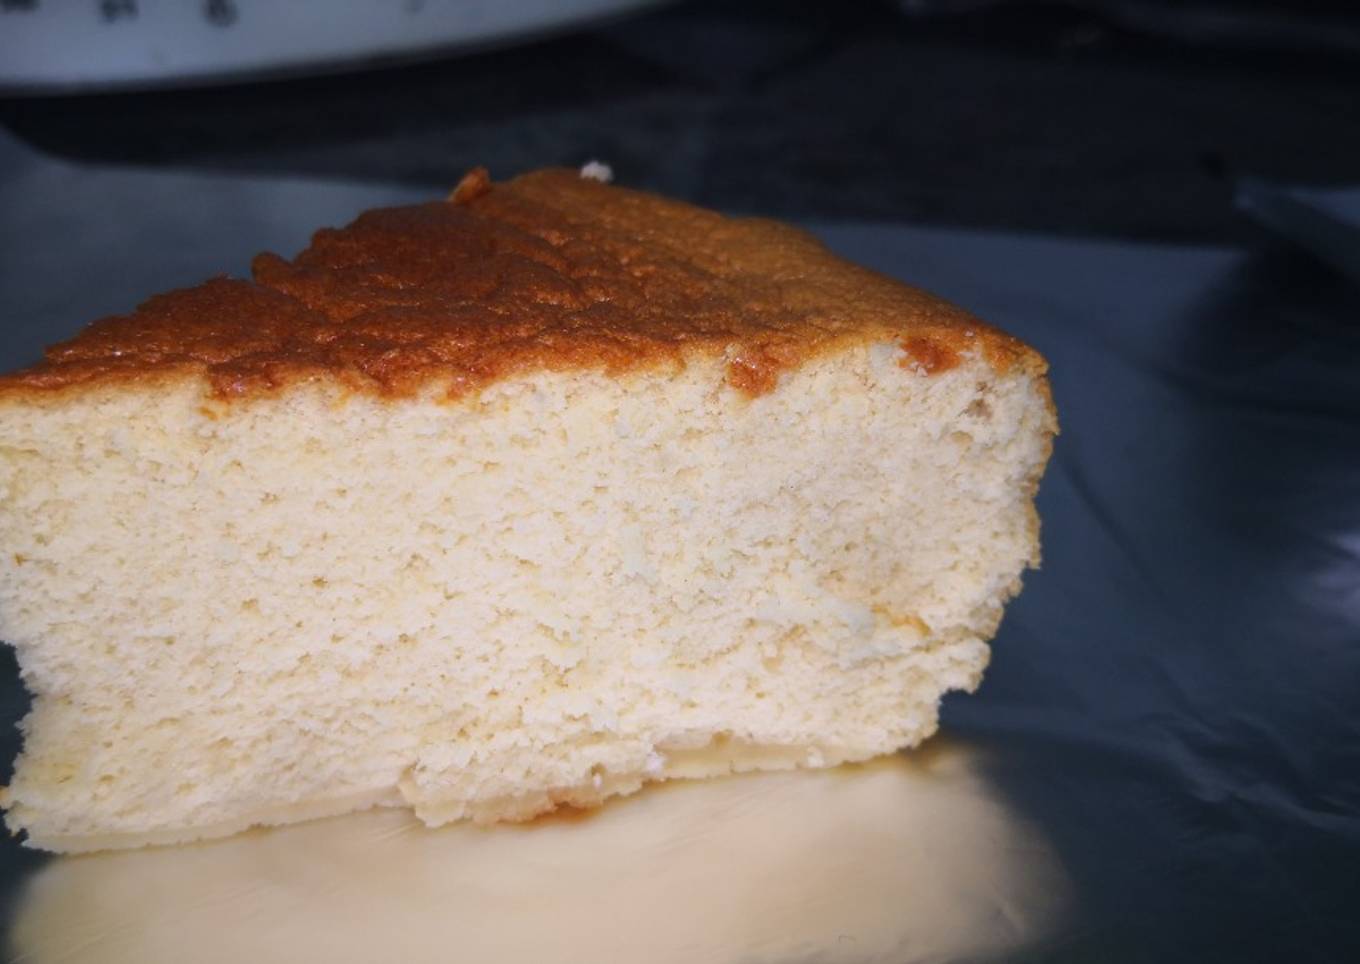
Bizcocho delicioso y esponjoso. Es un poco laborioso y hay que seguir los pasos tal cual. Esta receta la he adaptado a la Thermomix.
Os va a encantar, sobre todo por la textura 🤤🥮
#ElGordoDeCookpad
#dulces
#1receta1arbol
#mirecetario
Ingredients and spices that need to be Get to make Bizcocho japonés Kasutera:
- 6 huevos medianos
- 100 g. azúcar
- 120 g. harina de trigo
- 40 g. leche
- 30 g. miel
- Aceite de oliva o girasol
Steps to make to make Bizcocho japonés Kasutera
- Forrar un molde pequeño o rectangular con papel de hornear y engrasar ligeramente con aceite de girasol. Precalentar el horno a 160°.
- Ponemos la mariposa a la tmx. Separar las claras de las yemas. Las claras las añadiremos al vaso y programamos 6 min, vel 3-4 (1 min por cada clara). Tenemos que alcanzar la fase "puntas blandas”, una espuma blanca de burbujas pequeñas que forma puntas que se doblan. Esto ocurrirá cuando queden 2 o 3 min. En este momento, añadir poco a poco el azúcar mientras seguimos batiendo hasta alcanzar la fase" puntas rígidas”, es decir, se forman picos que no se doblan. No llegamos al punto de nieve.
- La espuma formada está suave y cremosa, aún no tan densa como montada a punto de nieve. Este es el punto que necesitamos. Hacia el final, bajamos otra vez la velocidad (vel 2) para que no se formen burbujas grandes, ya que podrían provocar el colapso del bizcocho en el horno.
- Con la tmx en marcha, sin programar tiempo, a velocidad 3, añadimos una a una las yemas, hasta que se integren bien.
- Luego, añadimos la miel poco a poco. Y a continuación, la harina, la añadiremos en dos tandas, primero una mitad tamizada y luego la otra. Añadimos la leche poco a poco y removemos a velocidad cuchara durante 30 segundos.
- Cuando ya no haya leche en la superficie, golpear el cuenco contra la encimera para ayudar a que las burbujas grandes que pueda haber suban a la superficie y se rompan.
- Verter muy lentamente la masa en el molde forrado desde unos 30 cm de altura. Las burbujas que puedan quedar se irán rompiendo en la superficie a medida que la masa fluya y caiga en el molde. Golpear el molde 3 o 4 veces sobre la encimera por si queda alguna burbuja.
- Hornear en el horno a 160 ºC hasta que la corteza esté tostada, unos 35 minutos. Comprobar con un palillo a los 30 min. Retirar el molde del horno y dejarlo caer desde unos 30 centímetros dos o tres veces, esto evitará que se desinfle al enfriar.
- Pasado un rato aparecerán pequeñas arrugas en la superficie, dar la vuelta al molde, apoyar la cara superior del bizcocho medio minuto sobre ella y volver a ponerlo del derecho, esto hará que la superficie se mantenga más lisa.
As your experience and also self-confidence expands, you will certainly find that you have a lot more natural control over your diet regimen as well as adjust your diet regimen to your individual preferences gradually. Whether you wish to serve a dish that utilizes less or even more ingredients or is a little basically zesty, you can make simple modifications to achieve this goal. To put it simply, begin making your dishes in a timely manner. When it comes to basic food preparation abilities for newbies you do not need to learn them however only if you understand some simple cooking strategies.
This isn't a full overview to fast as well as simple lunch dishes but its excellent food for thought. Hopefully this will obtain your imaginative juices moving so you can prepare delicious meals for your family without doing too many square meals on your trip.
So that is going to wrap it up with this exceptional food How to Make Favorite Bizcocho japonés Kasutera. Thank you very much for your time. I'm sure that you can make this at home. There is gonna be interesting food in home recipes coming up. Remember to bookmark this page on your browser, and share it to your loved ones, friends and colleague. Thanks again for reading. Go on get cooking!


Comments
Post a Comment